A few weeks ago I was on a whistle-stop tour of some of New Zealand’s most spectacular locations with 7 mates from the One of a Kind photography adventure crew all in 2 Toyota Prado’s. Very little sleep, many kilometres driving and a lot of photography. These trips usually push you to new levels for shooting. We started the day camping at the White horse camp ground, Mt Cook. Then a 4am start for the hour hike into Hooker valley and a spectacular sunrise to make up for the pretty average sunset the night before. A few hours later we pack up camp and hit the road to Milford with 540kms of spectacular south island scenery to come.
The whole road trip is stunning, through Lindis pass, past Lake Wakatipu and under the Remarkables we head further south. Now, I had been to Te Anau a number of times (walking the Kepler, Doubtful sounds etc.) but no further. Amazing as the rest of the scenery was as we pushed north from Te Anau, this was a whole new level. The Eglinton valley has spectacular wide views, Lake Gunn passes on the left and on the right one end of the Routeburn walk, past the divide and along the Hollyford river we entered the Homer Tunnel.
The Homer tunnel is an experience in itself. Hewn from the mountains, rugged and one way only, nothing prepares you for the view on the other side. Surrounded on all sides by steep cliff faces and huge mountains reaching near 2000m above. We get to Milford Sound in time to pitch our tents and grab a quick meal at the Blue Duck before sunset. I’m amazed at the remoteness of this little settlement, no phone coverage and very few buildings. All good potential for some night photography later!
The classic view of Milford Sound with Mitre Peak in the centre is shot facing west. This means a lot of good potential at either end of the day and typically, there’s a fair bit of weather about, so it can be worth shooting any time of day. It’s probably best at a high tide with calm water and nice reflections but there is plenty of foreground potential. Logs, rocks, the stunning Bowen falls on the right and pools can add to nice reflections also. It’s good to include a few extra things but also try and keep the view simple and remove as much clutter as possible. Milford also lends itself well to panoramic shooting . It’s well worth looking on Google image search to give yourself an idea of what shots are possible.
Unfortunately for us, this time the sunset is pretty average with clear skies. However, I am a keen astro photographer and always have a backup plan for night shooting!
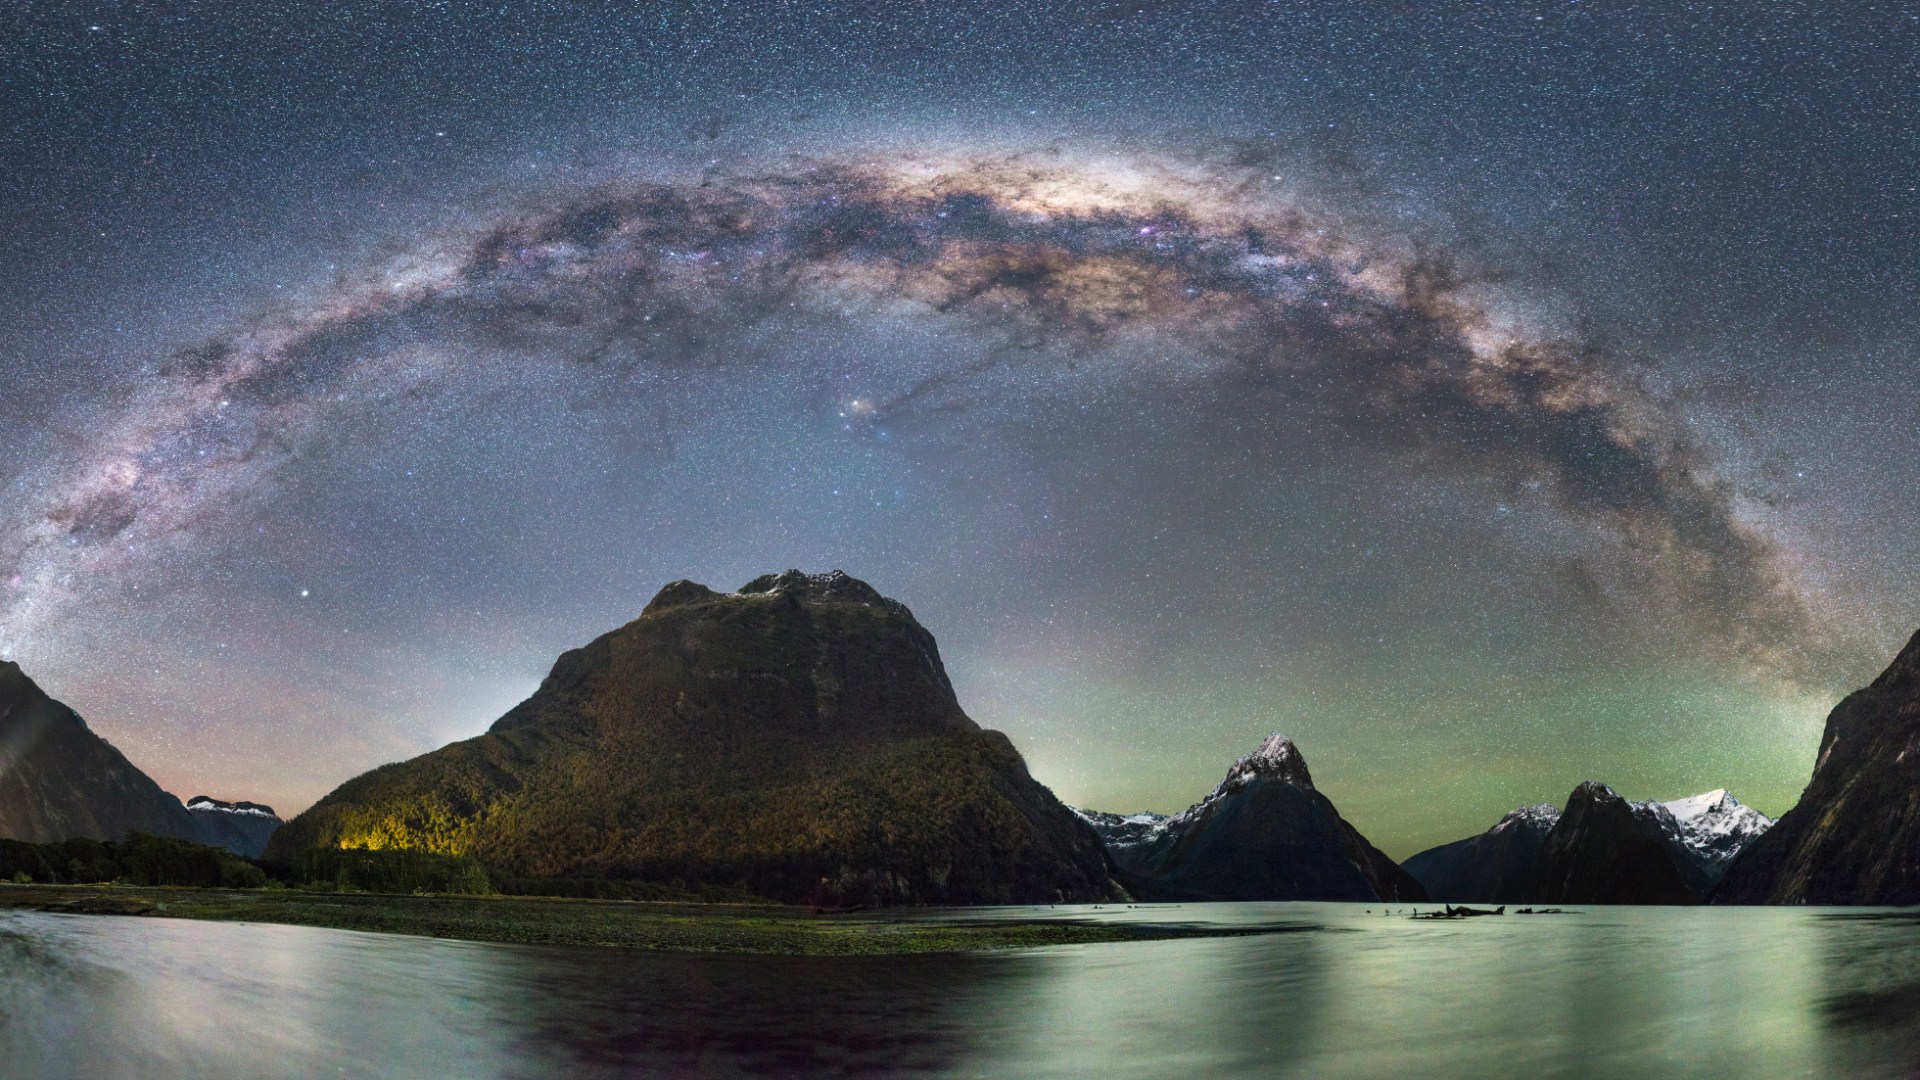
Astro photography often needs a little planning. It takes a little time to do some research into the moon cycles, moon rise and set times and the position of the Milky Way. I use an app called The Photographers Ephemeris , and also Star Walk, another good but iPhone specific one is Photopills. From this I knew that I had a significant moon in the sky but it was due to set at about 11pm, just behind Mt Philipps. I also knew the Milky Way would gradually lower in the sky over Mitre Peak at about the same time. I’d done a little Googling of images myself and had not seen a big milky way panoramic from Milford, only a few little star shots and star trails. Shooting this kind of panoramic is a little specialised and you do need the right conditions and time of year, so I suspect there are not many similar shots out there.
Astro photography is all about gathering as much light as possible in a short space of time. I use a full frame Canon 6D which has fantastic high ISO capabilities, with a very fast 50mm f1.4 lens. This doesn’t give me a very wide field of view so I shoot multiple frames. To help with this, I use a Gigapan Epic Pro robotic head. A normal multi-row panoramic head would do fine but this just makes it much easier.
Shooting at night takes a little practice to get your framing and composition working. You often can’t see what you are shooting, so its worth taking a little time to figure out where everything is. Focusing is tricky. It’s best to use live view at 10* zoom on a bright star and set manual focus so this doesn’t change. Also shoot raw allows you to get as much detail later and most importantly change the white balance.
So I shoot a few test shots with a 14mm f2.8 lens to see how it all looks. ISO 6400, 30 seconds and f2.8. This shows me the Milky Way is in about the right position and I set up the panoramic gear.
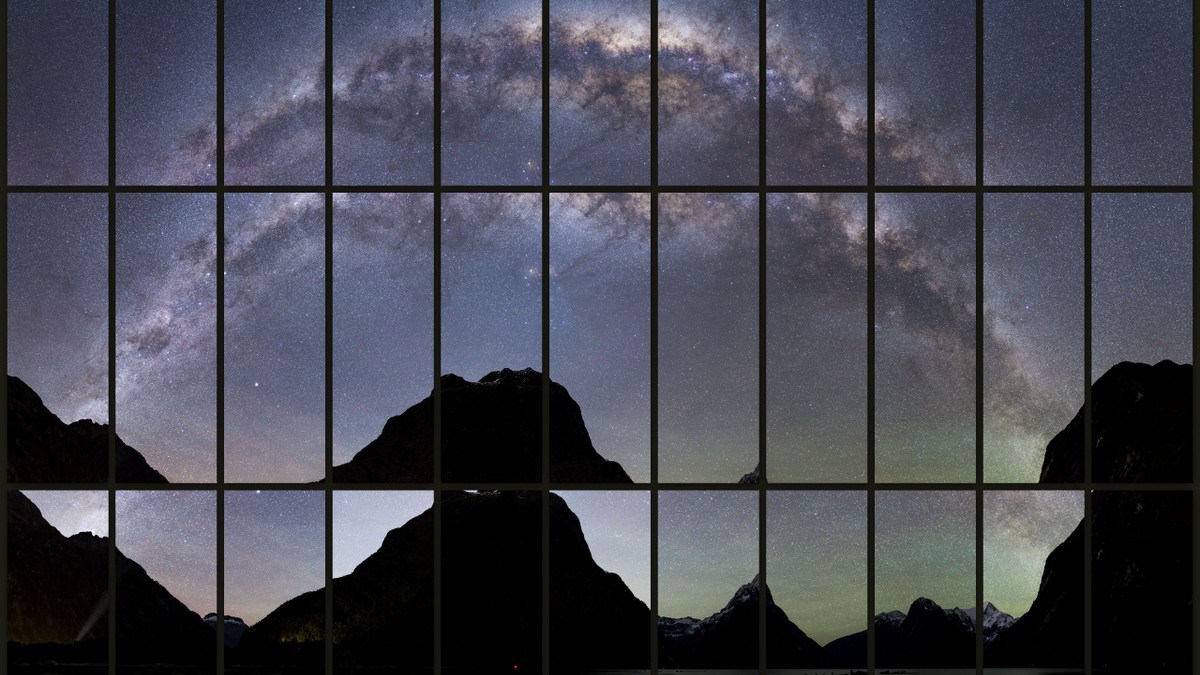
Shooting the whole panoramic takes 3 rows of 11 shots each of which takes 15 seconds (time limited due to star movement). I use f2.2 to avoid a little vignetting and coma on the lens, and ISO 6400 to capture as much light as possible. The gigapan is set up to wait for 20 seconds to allow a little time to stabilise so there is no extra movement. Luckily it’s also a calm night, wind doesn’t help with this kind of photography! Unfortunately, I’d miscalculated the incoming tide and had to wade out to recover the tripod and camera once it had finished.. Normally with this kind of shooting you can check the individual files, but don’t really know how well the panoramic will turn out until later.
Once home, it’s time to turn those files into an image. First, it’s best to have a rough idea how you want the end result to look, so you know what to work towards.
For this, I wanted something that looks quite natural but also with a bit of impact, and from experience, I know that to get the best out of these files I want to process them twice, once for the stars and once for the ground.
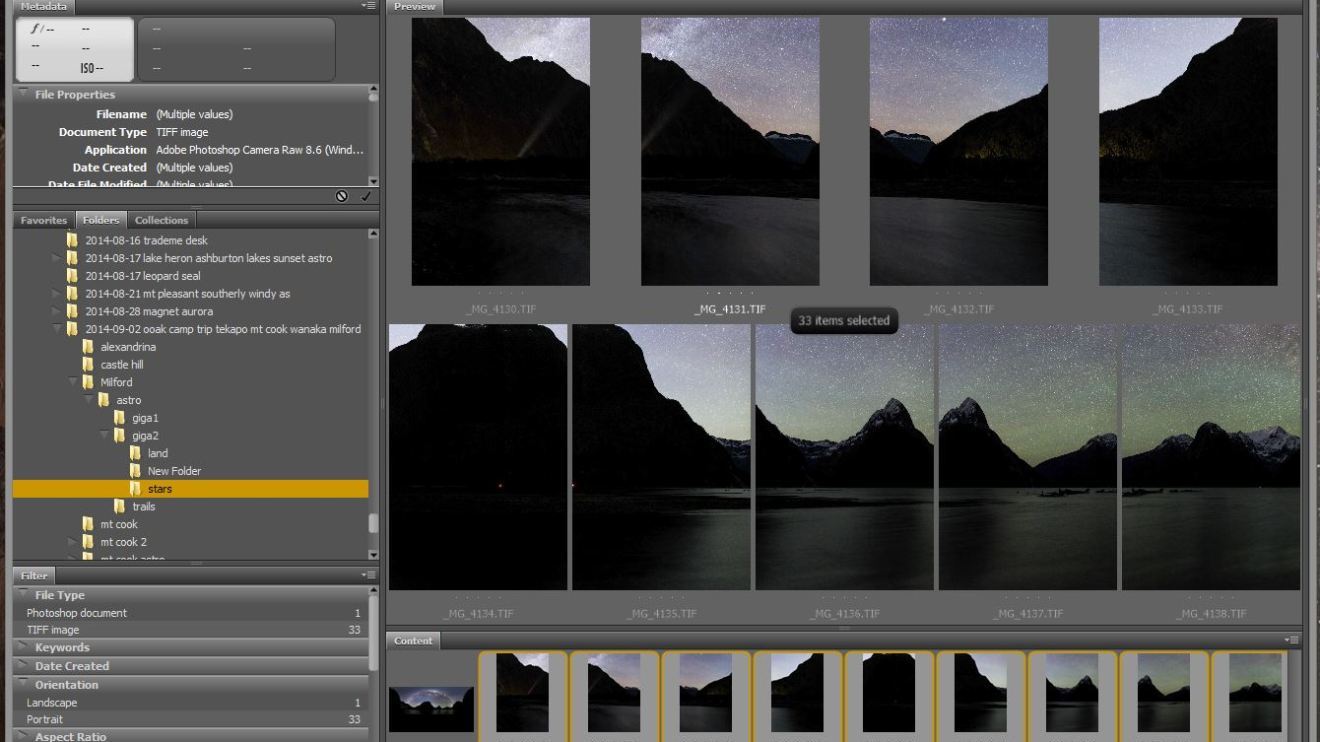
I do this in Adobe camera raw, by adjusting the white balance, levels (shadows, whites, contrast) and I add a little clarity. I also use ACR’s lens correction which removes vignetting and stops banding in the final image. For the ground, I push the shadows and exposure more. I save both sets of images out into folders as TIFF files to preserve detail.
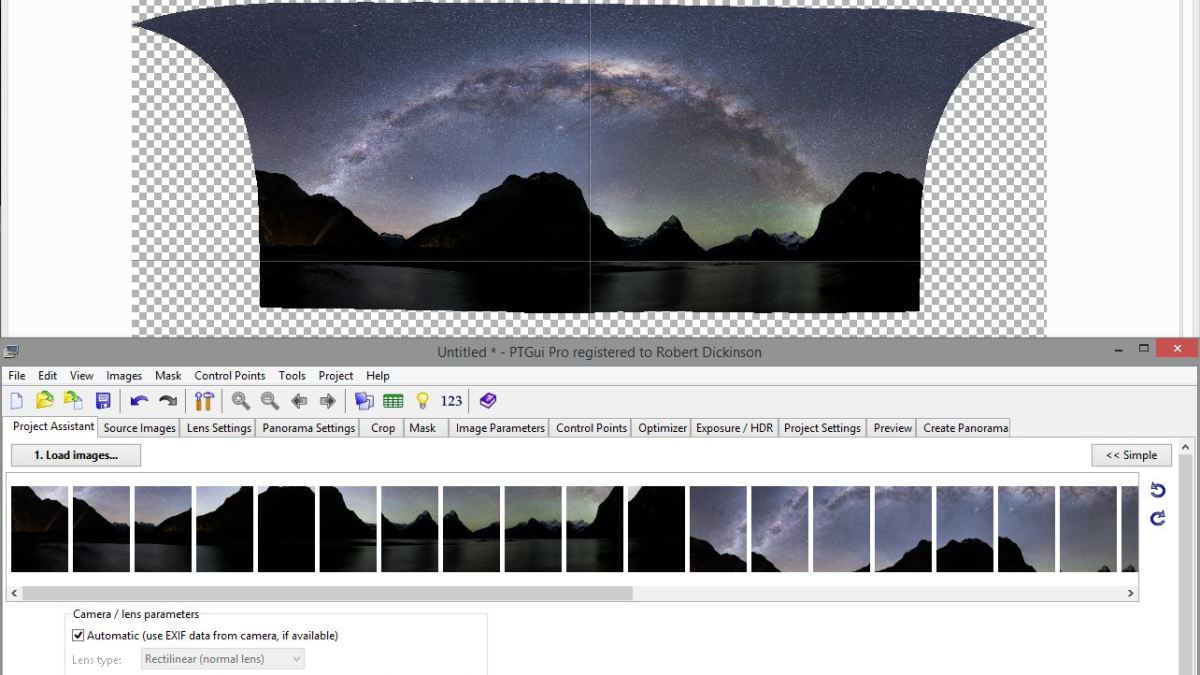
My favourite stitching software is PT Gui. This has the ability to stitch images in a strict grid if you tell it how much overlap, how many images and what order they are shot in, then I auto align and PT Gui usually does a great job of stitching. It also allows me to save a template so I can apply this again to the next set of images for an exact duplicate stitch. Both these files are 30,000px wide and loaded up into Photoshop, where I blend both sets into one image. I reduce the image size to 8000px wide to make it easy to use and save a copy. After that I just tidy up a few lights and add a couple of subtle layers to tone down the distant mountains that are looking too bright and too blue. I also apply a little noise reduction to the shadow areas using ACR as a filter.
And that’s the image done!


